Knolly Grassroots rider and physician Robertson Pearce covers the basics of trailside first aid. You can read about part 1, in which he goes over first aid kits, here (link)
Last time we briefly talked about some principles of trailside first aid and went through a few examples of the different types of first aid kits you should pack based on your ride. But what good is all that stuff if you don’t know how to use it? In this post, we’ll go through a few of the most common injuries sustained while mountain biking as well as basic first aid for these injuries. Every treatment that will be covered can be performed with the basic items in your first aid kit, with a little help from some of your bike spares and perhaps an item or two from Mother Nature. As a disclaimer, this article is not meant to make you an expert and is not a substitute for a proper first aid/wilderness first aid class; the goal is simply to provide a starting point, and some knowledge is better than none!
Before learning first aid, it is important to first understand the principles of first aid. First aid is just that, the first attempt at providing medical aid to the injured. It typically is not the final, definitive care for an injury but instead provides stabilization and comfort until the individual can be transported to the hospital. But that’s not to say it isn’t important! For several of the injuries we’ll cover today, good and prompt first aid can mean the difference between someone making a quick recovery or getting much worse. While there are a huge array of potential injuries one might sustain while mountain biking, we’ll cover a few of the most common ones today, divided into head injuries, shoulder injuries, arm/leg injuries, and skin injuries. Finally, we’ll wrap it up with a list of recommended classes and online resources for those interested in learning even more!
The Head
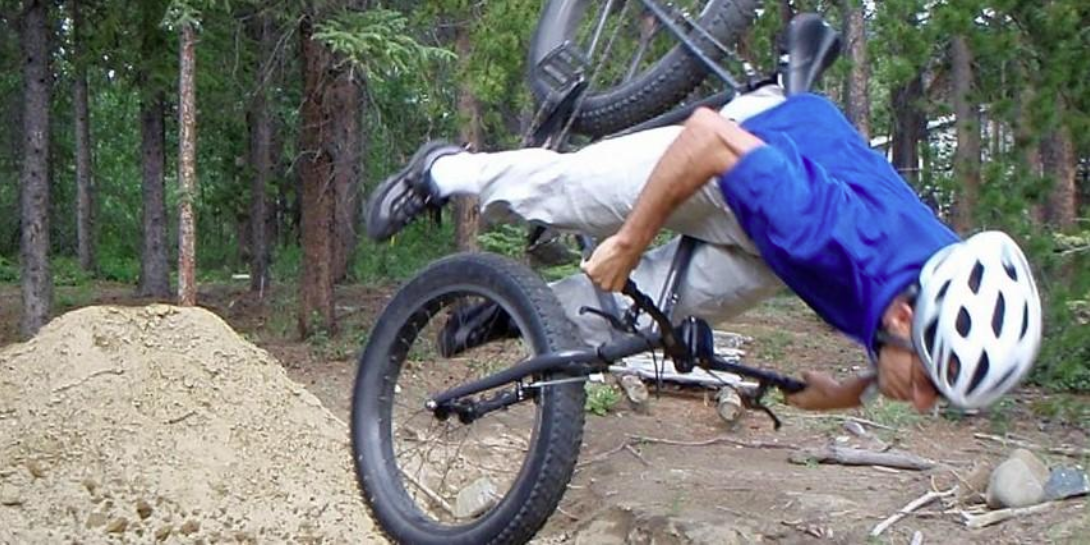
I don’t think many will disagree with me when I say the head is the most important part of our bodies. It has eyes to let us see, brains for us to think, and taste buds for that sweet post-ride beer! Unfortunately, many of these vital parts are easily injured during a crash, or even when riding on a hot day. Thankfully, most of us wear protection in the form of helmets and glasses/goggles, but even these can be overcome when you dead-sailor that jump a bit too hard.  Full Joey send!
Credit bikeradar.com
The head injury most of us are familiar with is a concussion, also known as a mild traumatic brain injury. Many of you may have suffered one before, with symptoms like headache, memory issues, and blurry vision. The basics of concussion first aid are to minimize physical activity and prevent a second concussion, which can be difficult if one is way out there on a trail. My best advice is to find the shortest route back to civilization and, if possible, walk the bike back to minimize the chance of another fall. Take it easy, because the more you exercise right after a concussion, the longer the recovery time can be. Once you, or the injured person, is off the trail I strongly recommend a trip to the Emergency Room to get checked out.
Another common head injury is heat injury, which can be divided into heat exhaustion and heat stroke. Now wait, you’re probably thinking, how is that a head injury? While a heat injury does affect the whole body, it is often the effects on the brain that cause most of the symptoms. When it comes to first aid for heat injuries, the best way to treat them is in fact to prevent them. Staying hydrated, minimizing time in the heat and direct sun, and taking breaks are all important. Also, heat injuries occur more easily during high humidity, so just because you can crank out 30 miles in the Arizona heat doesn’t mean you’ll be able to do the same thing during your summer vacation to Florida! If someone does suffer a heat injury (mild cases, also known as heat exhaustion, consist mostly of headache, dizziness, and feeling exhausted) the most important thing is to get them out of the heat (even a little shade will help!) and get them hydrated. Just like with a concussion, take it easy and head back. If the person is unconscious or seems very confused despite the above measures, it may be a sign of a heat stroke, a much more serious form of heat injury. This is a life threating medical emergency, so call for help right away! I guess that’s one way to cool off…
Credit: Google Images
Shoulder Injury
Shoulder injuries are some of the most common in mountain biking, and here we’ll briefly cover three of them: a separated shoulder, a dislocated shoulder, and a broken collarbone.
Separated shoulder:  Hmm, something looks wrong here…
Credit: stack.com A separated shoulder involves “separating” your collarbone from your shoulder, and typically happens during a fall onto that shoulder. The main symptom is shoulder pain and maybe a painful lump in the middle of the shoulder, as shown above. Your trailside first aid for this injury involves placing the arm in a sling, which can easily be fashioned out of a spare tube:
Works even with roadie tubes!
Credit: velorichard.com
Obviously, that’s the end of the ride. While mild cases of separated shoulders will heal on their own, more serious cases will require surgery so it’s best to get it checked out. Head back to civilization and then to the Emergency Room!
Broken collarbone:  A broken collarbone involves breaking, or fracturing, your collarbone, the bone that connects your chest to your shoulder. Symptoms here are pain that gets worse with movement, and a painful lump over the collarbone itself (more towards the middle of the chest than a separated shoulder). Just like with the separated shoulder, place the arm into a sling and make plans to leave the trail and head to the hospital.
Can you spot the injury? (hint, there’s an arrow!)
Credit: uptodate.com
Dislocated shoulder:
A dislocated shoulder involves the arm becoming dislocated from the shoulder joint. Typically, a person will complain of shoulder pain and can’t move the affected arm, and may have a ‘’sunken in’’ appearance to their shoulder. 
Often, the shoulder will relocate itself, but if not then it may require assistance. If you’re going to try relocating it, then you should act quickly as the longer the shoulder is out, the harder it is to get back in. I will not offer a tutorial on this here for the sake of brevity, but if interested there are plenty of video tutorials online. I also HIGHLY recommend taking an in-person first aid class for this, as shoulder relocations is one of the procedures often taught during this type of class. Just as for the previous two injuries, your trailside first aid here involves placing the arm in a sling (even if you can get it relocated) and heading to the Emergency Room.
Note the ‘’sunken in” left shoulder
Credit: Google images
Arm/Leg Injuries
Broken bones are something we all worry about happening while riding. Close your eyes and it’s easy to conjure up images of a mangled arm, leg, ankle or wrist. Thankfully, these injuries are actually less common than you would think, since for most adults our bones are pretty strong and it takes a rather large force to cause a fracture. But what if bad luck where to strike and this occurred on a ride? It’s important to think back to the basic principles of first aid, meaning that you won’t be setting or casting any broken bones in the wilderness.
Rather, you should take steps to prevent further damage until the injured person can get to the hospital. The mainstay of treatment here is going to be splinting, which stabilizes the injured bone and prevents further injury. While there are plenty of fancy (and overpriced!) medical tools for the job, you can do a surprisingly good job with two sticks (or another straight, hard object like a seatpost or handlebars). Place the sticks along either side of the suspected fractured limb, with the most painful part in the middle, and tie them together (tape, shoelaces, even strips of clothing will do the job). Make sure not to tie it together too tightly so you don’t cut off circulation past the splint! These types of rudimentary splints are temporary at best, so if you’re going way out there then you should really consider carrying a small, affordable Sam splint which is much more stable and can be cut into a variety of shapes:

Credit: sammedical.com
Obviously, with an injury of this nature you’re not going to be continuing on with the ride. If you are far away from help or unable to get out under your own power (common with leg injuries), you may have to call for help in the form of a medical evacuation.
A more common injury of the arm/hand is a dislocated finger, which typically occurs when we get tangled up with our bikes during a crash. This one is pretty easy to figure out, as the affected finger will be bent abnormally at the joint. To fix this, grab the injured finger at the tip, pull outwards and then push it back in the correct direction. If you meet resistance or severe pain, stop! If you are able to get the finger in the correct location, buddy tape it (one strip of tape above and below the affected joint) to the neighboring finger:
Cuts/Lacerations
Last but not least is what is likely the most common mountain biking injury, cuts or scrapes from a fall. While many of you may not have suffered some of the previously discussed injuries, most got our first biking related scrape within our first few rides! Most of you probably know the basics of first aid for cuts/scrapes.
Clean the wound out to remove any rocks/dirt (squirts of water from your bottle does just fine), and if you have a first aid kit, clean the wound with disinfectant and cover it with bandages. The main goal here is to clean the affected area quickly to help prevent infection. After your ride, be sure to clean the area thoroughly with good soap and water. If a few days later you notice the skin around the wound is red, swollen, and painful to touch, this may be a sign of a skin infection that requires further medical care. 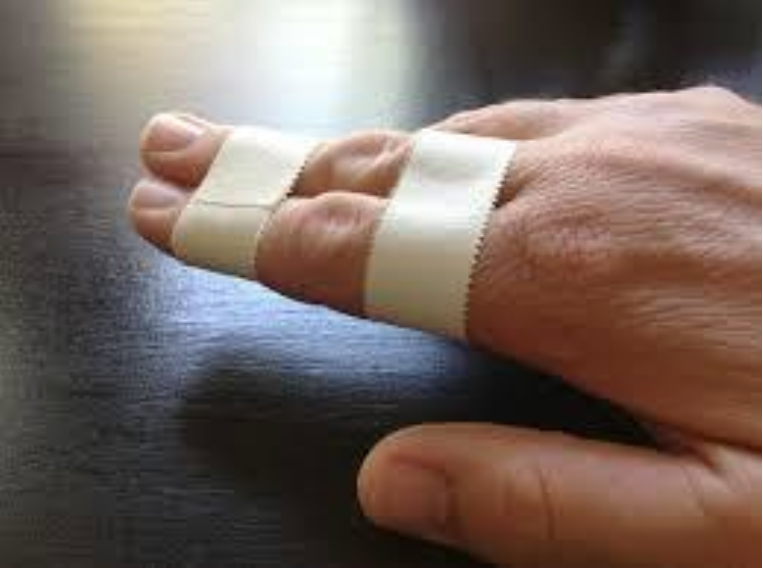 Credit: Google Images
Recommended Classes/Resources and Conclusion
That wraps up this post on the basics of trailside first aid. Remember that this article is no substitute for proper training, and I highly recommend taking a first aid or wilderness-specific first aid class if you are able. Two great resources for this are the American Red Cross https://www.redcross.org/take-a-class/cpr/wilderness-sports, and Backcountry Lifeline https://www.backcountrylifeline.com/learn.html, with the latter focusing specifically on mountain biking injuries.
The lessons these classes teach you will expand upon much of what we touched on today, while giving you hands on experience with many first aid techniques. Finally, if an injury/accident occurs, remember first “Don’t Panic” and also that is always better to ere on the side of caution and call for help if you think you need it. Stay safe out there and enjoy the trails!
Trailside First Aid (Part 2)
Posted by admin on

